Mundane Love Series
thoughts & processes
With just a few days left of Calligraphies in Conversation & my Mundane Love pieces being on view, I wanted to take some time to talk about their inspiration and my process for creating them.
Cursive—more art than practical
In the calligraphy world, there is a lot of talk about how kids aren’t taught to write cursive anymore. But I don’t see why they should be. It has instead been replaced with typing classes—a skill most people will use everyday of their lives. However, writing (especially cursive) has almost no use to me anymore. Don’t get me wrong. I love it, but the only consistent time I write something is when I’m labeling leftovers in the fridge. And even then it’s block letters! Unless it’s for work, I don’t tend to write. Cursive is an art-skill not a practical skill. Maybe cursive should be taught in school, but as part of an art class, not practical studies. Oh wait! Art isn’t taught anymore...but that’s a whole other bag of worms.
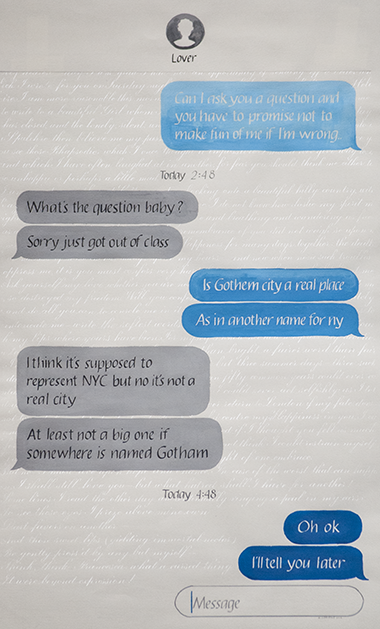
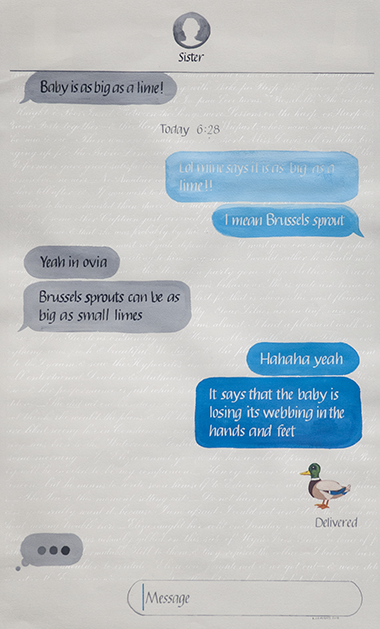
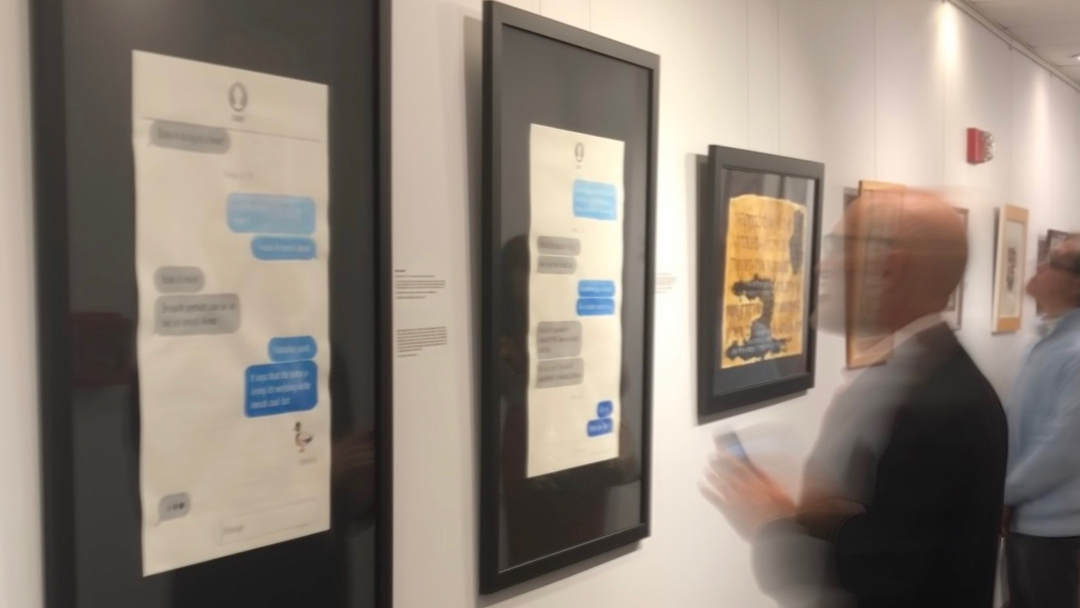
Technology is always changing. But sentiments stay the same. By comparing current text-messages & similar letters written a century ago, I wanted to show how people talk about the same things. We’ve just cut out all the flowery language. We don’t need to fill pages and pages for a letter, because we can chat constantly, even when you live thousands of miles apart.
No wizardry, just time
Many people have expressed wonder at how I made the reversed out lettering and the pearlescent background. So I’ll walk you through my process. Each piece was done at different times and with drying times took about a week to finish, and at least 10 hours of active working time (that doesn’t count all the pre-planning)!
Project prep
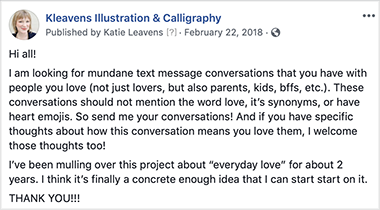
This is a project I had been thinking about for 2 years. It went through a lot of iterations in my head before I came up with an idea I thought would be visually pleasing enough to be worth my time making it, and worth the time for people to look at it. But to be honest, I’m wasn’t sure it would completely work until I had finished the first piece.
I began the project by reaching out to my social media friends. I need current conversations between people who loved each other. I wanted conversations that said I love you, without actually using the words. When I had picked the ones that worked, I got permission to use the conversations from both parties involved in the conversations. Then I scoured the internet for works by famous authors that were within the public domain. I had originally thought of using poetry, but the letters seemed more personal and on topic.
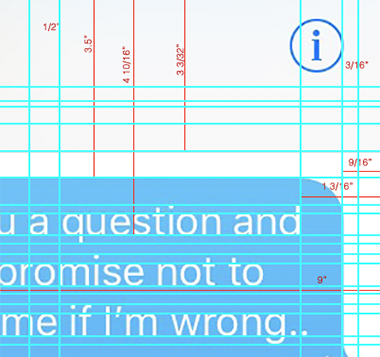
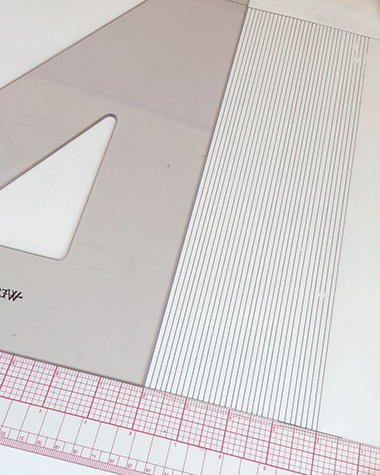
Then I opened photoshop and redlined the messages so I could recreate them to scale. This was tedious! I don’t know how Stephan (my spouse) does this everyday. Then I lined my paper. Realized I made a mistake, erased, and did it again (seriously this happened on both of them!). I taped of the edges so i wouldn’t have to worry about them.
Hands-on making
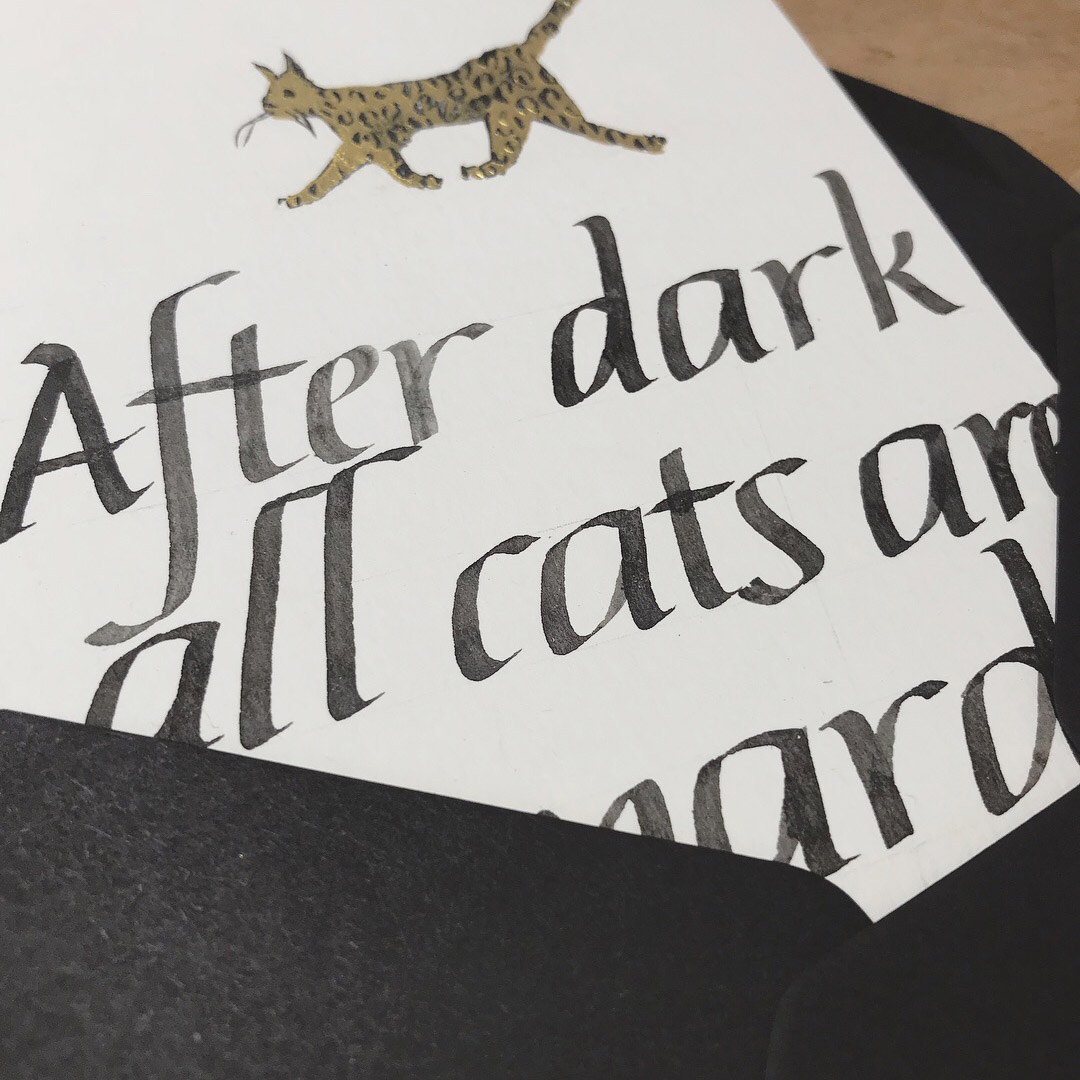
Next up was the dark grey lettering. To reduce bleeding I had to form the letters exactly as I had made them with the drawing gum, so they wouldn’t touch the gouache around them.
Then there were all the other details that really made it look like a phone screen. The person icon, the name, the heading divider, the date & time, and most importantly the reply bubble. And of course the duck emoji in the second piece.
The next day was all about erasing my pencil lines so I could start on the background lettering. Since I was afraid the paper wouldn’t hold up to to many more erasings, I decided to line a different sheet with pen and tape it behind. The lines were faint, but just enough so I could see them as I wrote.
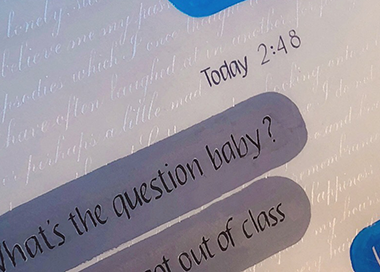
To get the feeling of a lit screen behind glass, I decided to write in a shimmery pearlescent powder that I made into an ink by mixing with gum arabic (the binder in watercolors) and water that need to be stirred of then while I worked to keep it from settling. To make sure I could see clearly as I wrote, I turned my desk lamp on extra bright and positioned it at an angle. After writing for hours and letting it dry, I could remove the tape, erase one more time, trim it, sign it and finish it with a fixative to help protect all of the water-based paints.
I love the final result. They are subtle, yet intriguing to look at. Sure, you would miss a lot if you didn’t take the time to look. It’s still an enjoyable piece, if the lighting is wrong and you miss the pearlescent writing in the back. It was a great experiment in re-creating a digital screen in a traditional techniques.